Why Wall Quilts - for me, more projects get finished!!! The following is some of the information that is offered in our pattern insert that comes with all the appliqué and stain glass quilt patterns. There are many methods in the quilting process and these are only suggestions as we all have our own methods and personal preference. We hope you find it helpful for your own quilt projects.
Satin Stitching - A satin stitch is a closed zig zag stitch. You can use this stitch to secure the appliqués to the foundation of your quilt top. Some of the following settings work well and are just a suggestion for you to try:
For larger appliqué pieces, try a 2.0 to 2.5 stitch width and a .3 to .5 length.
For smaller appliqués pieces try 1.5 - 2 width and a .3 - .4 length.
These settings may differ depending on your machine. They will also vary in density as threads have different textures and thickness. You will want at least ½ or more of your stitch width to be on the appliqué piece that you are attaching to the foundation of your quilt top. Depending on the effect that you want for the finished wall quilt - the colour of thread you use and the width of your stitch will impact on the finished project. You may wish to use thread that matches the appliqué that you are working on or you may want more contrast on your wall quilt. The width and density of the threads will also make this difference. We suggest that you do a practice first before you work on your quilt top to get the effect that you want and to give yourself a comfort zone.
Use a stabilizer under your project when satin stitching. This enhances the uniformity of the stitching. We use regular typing paper under the fabric and remove it when we are finished. There are other products out there all of which are a matter of personal preference.
I use a clear foot for satin stitching as well as for stipple quilting. This is covered more in the quilt pattern insert. If your machine has an adjustment for releasing a little pressure on the presser foot, try it and youll find that you may have more control with corners and curves when using the satin stitch.
Machine Needles - use an embroidery needle for either metallic or machine embroidery thread when using the satin stitch or if your quilting through fabric with a fusible web in the thickness. Use a metallic needle when quilting with metallic thread through fabrics where no fusible web has been used. Smooth texture metallic threads have been used on our quilts and in our quilt patterns.
Troubleshooting - If you run into a problem with continual breakage when using metallic threads on your wall quilt - try re-threading your machine and/or replacing your needle. Loosen your upper tension.
Try a practice sample first before going to work on your wall quilt - try between a 2 and 3 upper tension. Check the back of your work to see that stitching is not too loose. If the bobbin thread is quite prominent on the quilt top, your upper tension is too tight - loosen your upper tension.
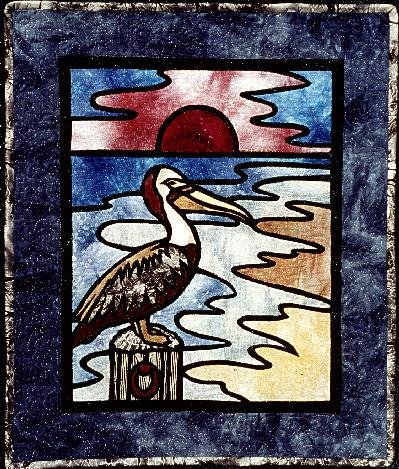
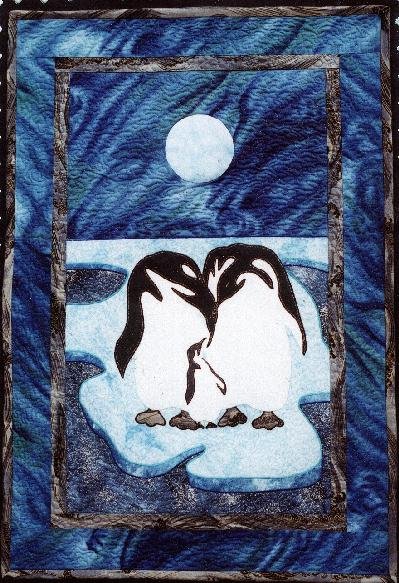
If you find some pieces are just too small and that the stitching may take away from the look you want - dont stitch it down at all. The moon and sun in some of our patterns is an example of this. However, I would not recommend that for a quilt or a quilted item that will be washed repeatedly.
Pressing - use caution when pressing - press from the back of your project and dont use too hot an iron on the threads. In most cases the seams are pressed to one side. Dont press the quilt once batting and backing are together.
Starting & Stopping with Satin Stitching and Quilting
Hold your top thread back when you begin - do a back stitch and let the needle stitch in the same place a few times. If you feel your stitching isnt that secure on your quilt top - pull your threads to the back and tie them off with the bobbin thread when you have finished.
Stain Glass Technique
The technique used for these quilt patterns, I find to be an inexpensive way of applying leading to the quilt top. I use a poly/cotton blend for the leading (a personal preference) only because I find it frays less than the cotton. The leading is traced onto the fusible web - the web is applied to the wrong side of the poly/cotton fabric. The areas that are not leading are cut out. The paper backing is removed and the leading is taped(using a magic or transparent (gift wrapping) tape) over the appliqués and fused together using an iron and a damp cloth.. The leading is then stitched down using a zig zag stitch with black thread. On narrow leading a narrow stitch width is used. Once this is complete the edges of the wall quilt top are straightened and borders are added. Then we move onto the layers - quilt top, batting and backing held together with safety pins.
Two choices of quilting are enclosed in our quilt pattern insert. A method for stipple quilting and the other of quilting only around the appliqués of the wall quilt and then moving onto the bindings. Both of which you work from the centre of your quilt to the outside edges.
I hope these instructions have been of some assistance to you - check out our quilt pattern insert for more information on completing these wall quilts.
Have Fun and Enjoy